As part of our daily work, we need to block or allow some websites over our organizatioמ, in the Fortinet world, we are doing it using Web Filtering feature which knowing handle on web-based threats like a malware site, pornography content, botnets, phishing pages, and more. using Web Filtering we have control on users browsing and ensuring users safe browsing.
According to Fortinet’s documents, more than 250 million rated websites are converged and 70 languages, the web filtering which is definitely impressive!.
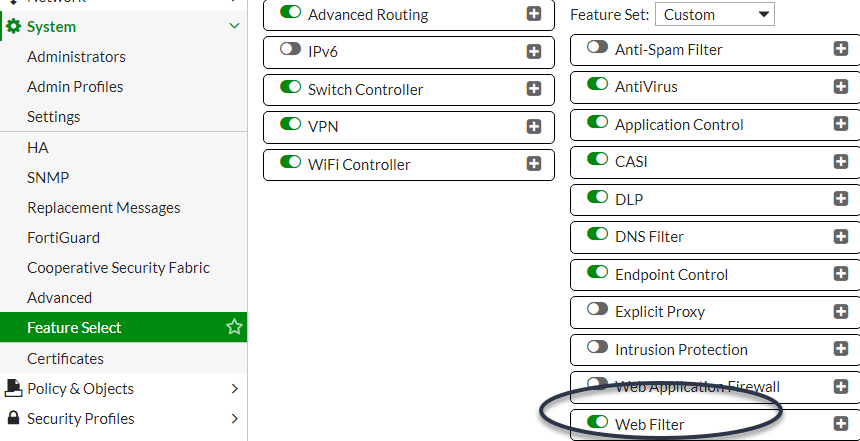
First, we should check the “Web Filter” feature is enabled:
Go to > “System” > “Feature Select” >:
Profiles and categories:
We can create several web filter profiles or use on the existing one which’s “Default“, and in this profile, we can create the custom category or use the defaults same as well, it’s up to you.
In the custom category, we add the websites that we want them to belong and then in the web filter we decide if these websites are allowed or blocked.
Regarding the filter profile – we assign it into the policy, I mean you can assign different profiles to different policies, you are going to get a full picture in this article.
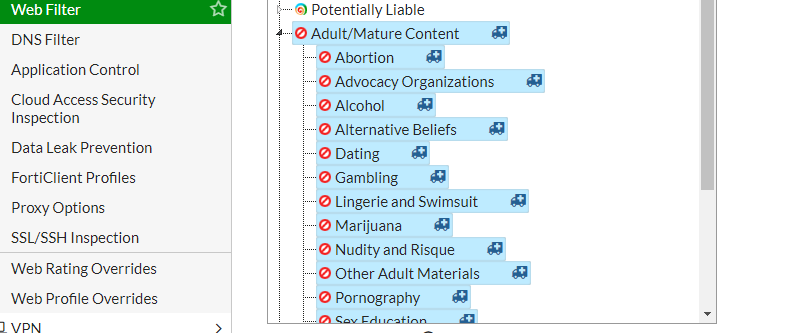
By default, there are default categories which block inappropriate content based internal database, For instance, so you try to access Porno website you will be blocked.
Default categories list:
https://fortiguard.com/webfilter/categories
You can see your profile list on the right side under “Web Filter“:

So in my case, I am going to create a new custom category in existing profile [Default]:
Create a new custom categories
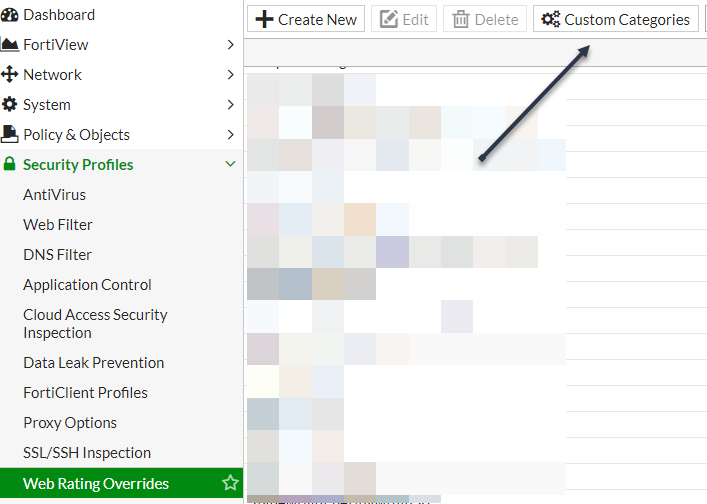
Then go to “Security Profiles” > “Web Rating Overrides” > Custom Categories:
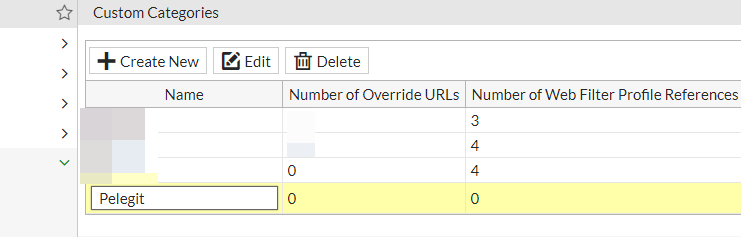
Create New – Set a name:
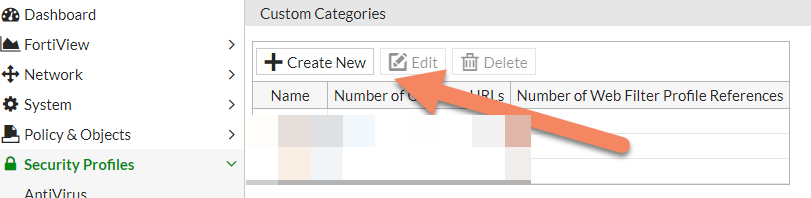
My custom category name is “PelegIT“:
Go back to “Security Profiles” > “Web Rating Overrides” > and click on “Create new“:

Insert a website URL and assign the website to the correct category:
Url: www.Pelegit.co.il
Category: Custom > Pelegit

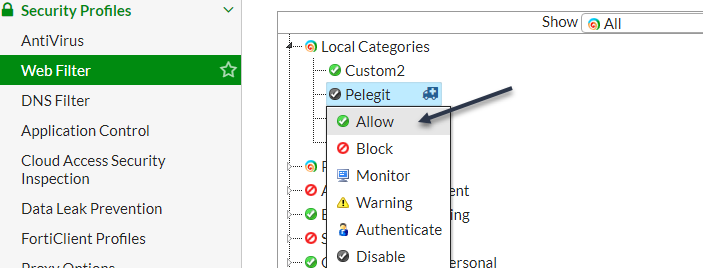
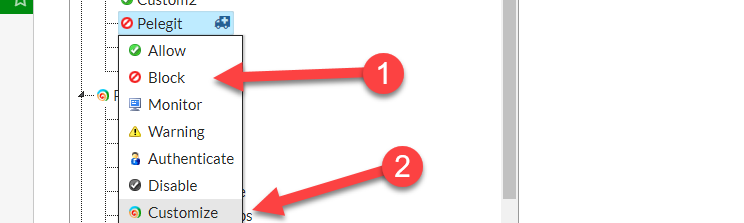
Go to “Web Filter” again and expend the “Local Categories” right click on your category and allow it or do the opposite block:
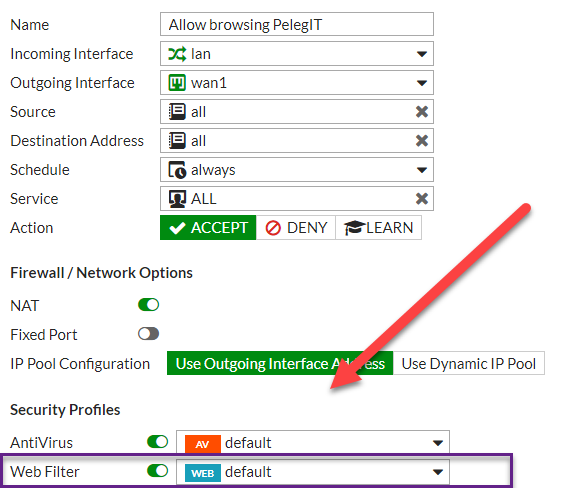
From this point, the custom category is ready, and the last action we have to do is assigning this profile to the policy, I am creating a new Policy under “Policy & Objects” > IPV4 Policy under
LAN TO WAN:
Create a new policy Above, Below, whatever you want.

In your policy, don’t forget to choose the correct web filter profile:
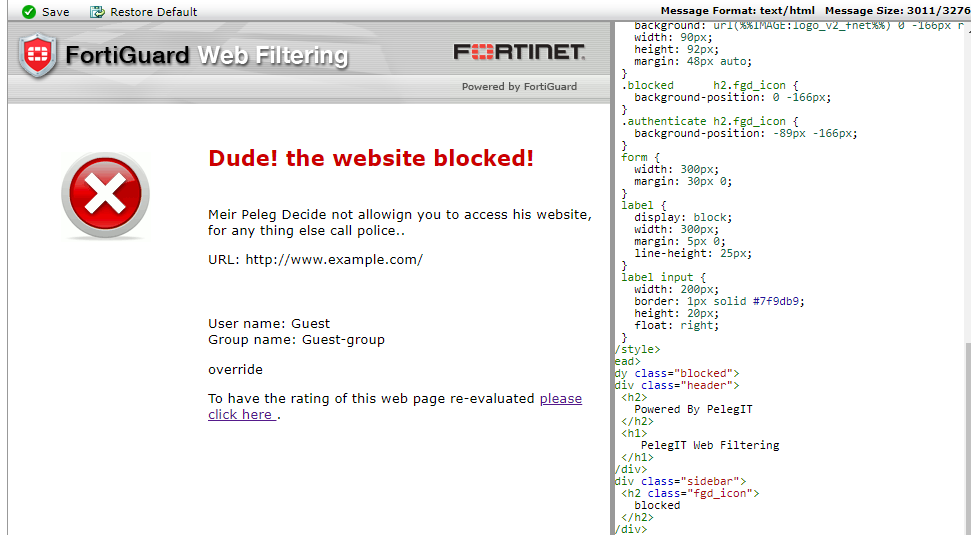
In a case you prefer to block the category you also can edit the message:
Right click “Block” and then Customize:
Edit message format and save it: