How to install FPS Reducer Mod ?
Follows 5 Steps bellow to install FPS Reducer Mod on Windows and Mac :
1. Ready installed Minecraft Forge.
2. Download a Forge compatible mod from url download, or anywhere else!
3. Open Minecraft game, click ->> ‘Mods’ button from main menu, click – >> ‘Open Mods Folder’.Important: Some older versions of Forge may not have the ‘Open Mods Folder’ button. If that is the case, you will need to find the folder manually. Windows:
- Press the Windows key and R at the same time
- Type %appdata% and press enter
- Find folder Minecraft and then look for the Mods folder within that
Mac:
- Click on the desktop and then press Command+Shift+G all at the same time
- Type ~/Library and press enter
- Open the folder Application Support and then Minecraft
4. Place the mod file downloaded (.jar or .zip) into the Mods folder.
5. Run Minecraft, and you should now see the new mod installed in the list!
- Top 15 Best Minecraft Seeds 1.18 (Java & Bedrock)
- 5 Best Realistic Minecraft Resource Packs 1.17.1 | 1.16.5
- Top 15 Best Java Seeds 1.18.2 | 1.17 | 1.16.5 for Minecraft
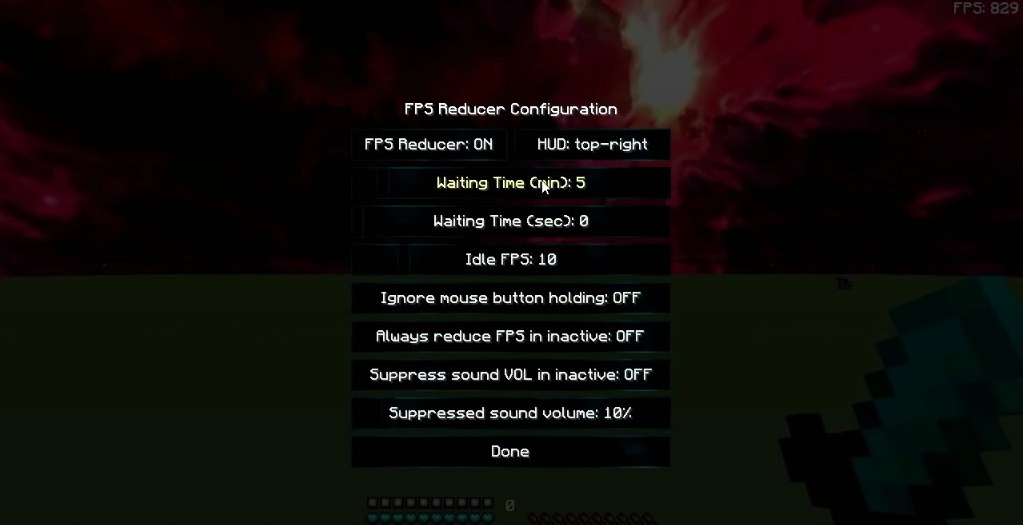
Usage
By default, if no operation is performed for 5 minutes, the frame rate will be reduced to 10.
Pressing [PAUSE] key reduces FPS manually. (new feature in v1.16)
Pressing [END] key opens the configuration GUI by default.
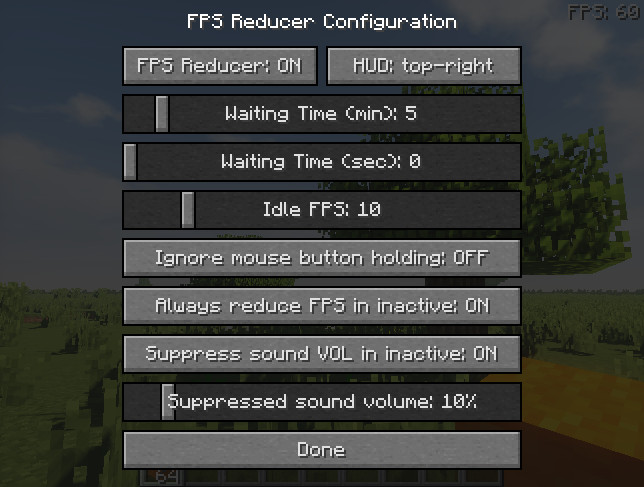
This mod reduces unnecessary GPU and CPU load by reducing the frame rate automatically when you are not operating Minecraft for a certain period of time.
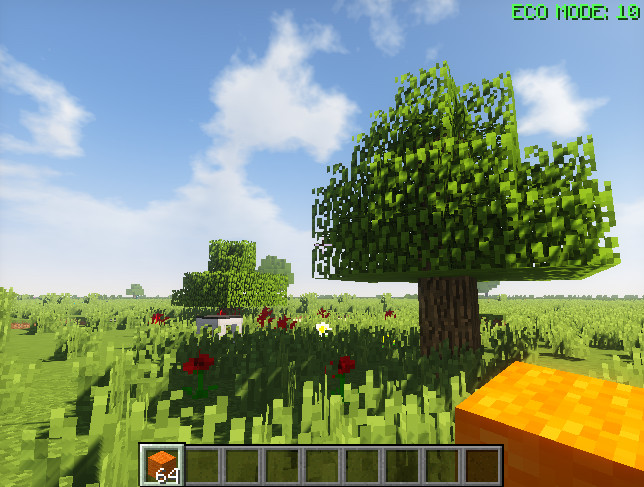
FPS Reducer Mod 1.17.1 | 1.16.5 | 1.15.2 Screenshot :

Requires:
Minecraft Forge
FPS Reducer Mod 1.18.2 | 1.17.1 | 1.16.5 | 1.15.2 Download Links
Changelog
v2.0
– Added new feature “Reduce FPS in Game Menu”.
– Added new feature “Max FPS without action”. Reduce FPS immediately after detecting no operation.
– Added profile feature to change to some typical settings with a single click. The default profile is “Modest Eco” mode. Accordingly, the waiting time option has been changed to OFF by default.
– Changed the layout of the configuration screen.
– Added some tooltips.
– Changed max FPS of GUI to 250fps.
– Changed the default waiting time to 10 minutes from 5 minutes.
– Added simple HUD.
– [Forge] Fixed the issue the config file may not be saved properly.
– Added German translation. (Thanks to AlexDerProGamer_mc)
– Updated Polish translation. (Thanks to Grreg21)
– [Fabric] Fixed the issue that HUD color cannot be changed in the config file.
How to install Minecraft Forge
Minecraft Forge is a Modding API that makes it very easy to install a number of different Minecraft mods. This guide will explain how to correctly install Forge.
1. Visit the Forge website, choose the Minecraft version you would like to run from the sidebar on the left, then download the installer.
2. Open the .jar file you have just downloaded, make sure ‘Install client’ is selected and click OK. Once this has finished you will see a success message.
3. Launch Minecraft and select the Forge profile then click Play.
4. You should now see the Minecraft Forge text in the lower left hand corner and a Mods button below Multiplayer.
If so, congratulations, you have successfully installed Minecraft Forge